Arrival Timing: Ensure you arrive at Anchored’s facility with enough time to:
Hook up the trailer.
Check all connections.
Arrive at the event location no later than 40 minutes before the event start time. This allows for positioning the trailer and 30 minutes of setup.
Trailer Locks:
Each trailer has two locks: a wheel chock lock and a hitch lock.
Use the same key to remove both locks. Ensure the locks travel with the trailer and are used whenever the trailer is stationary.
Hitch Information:
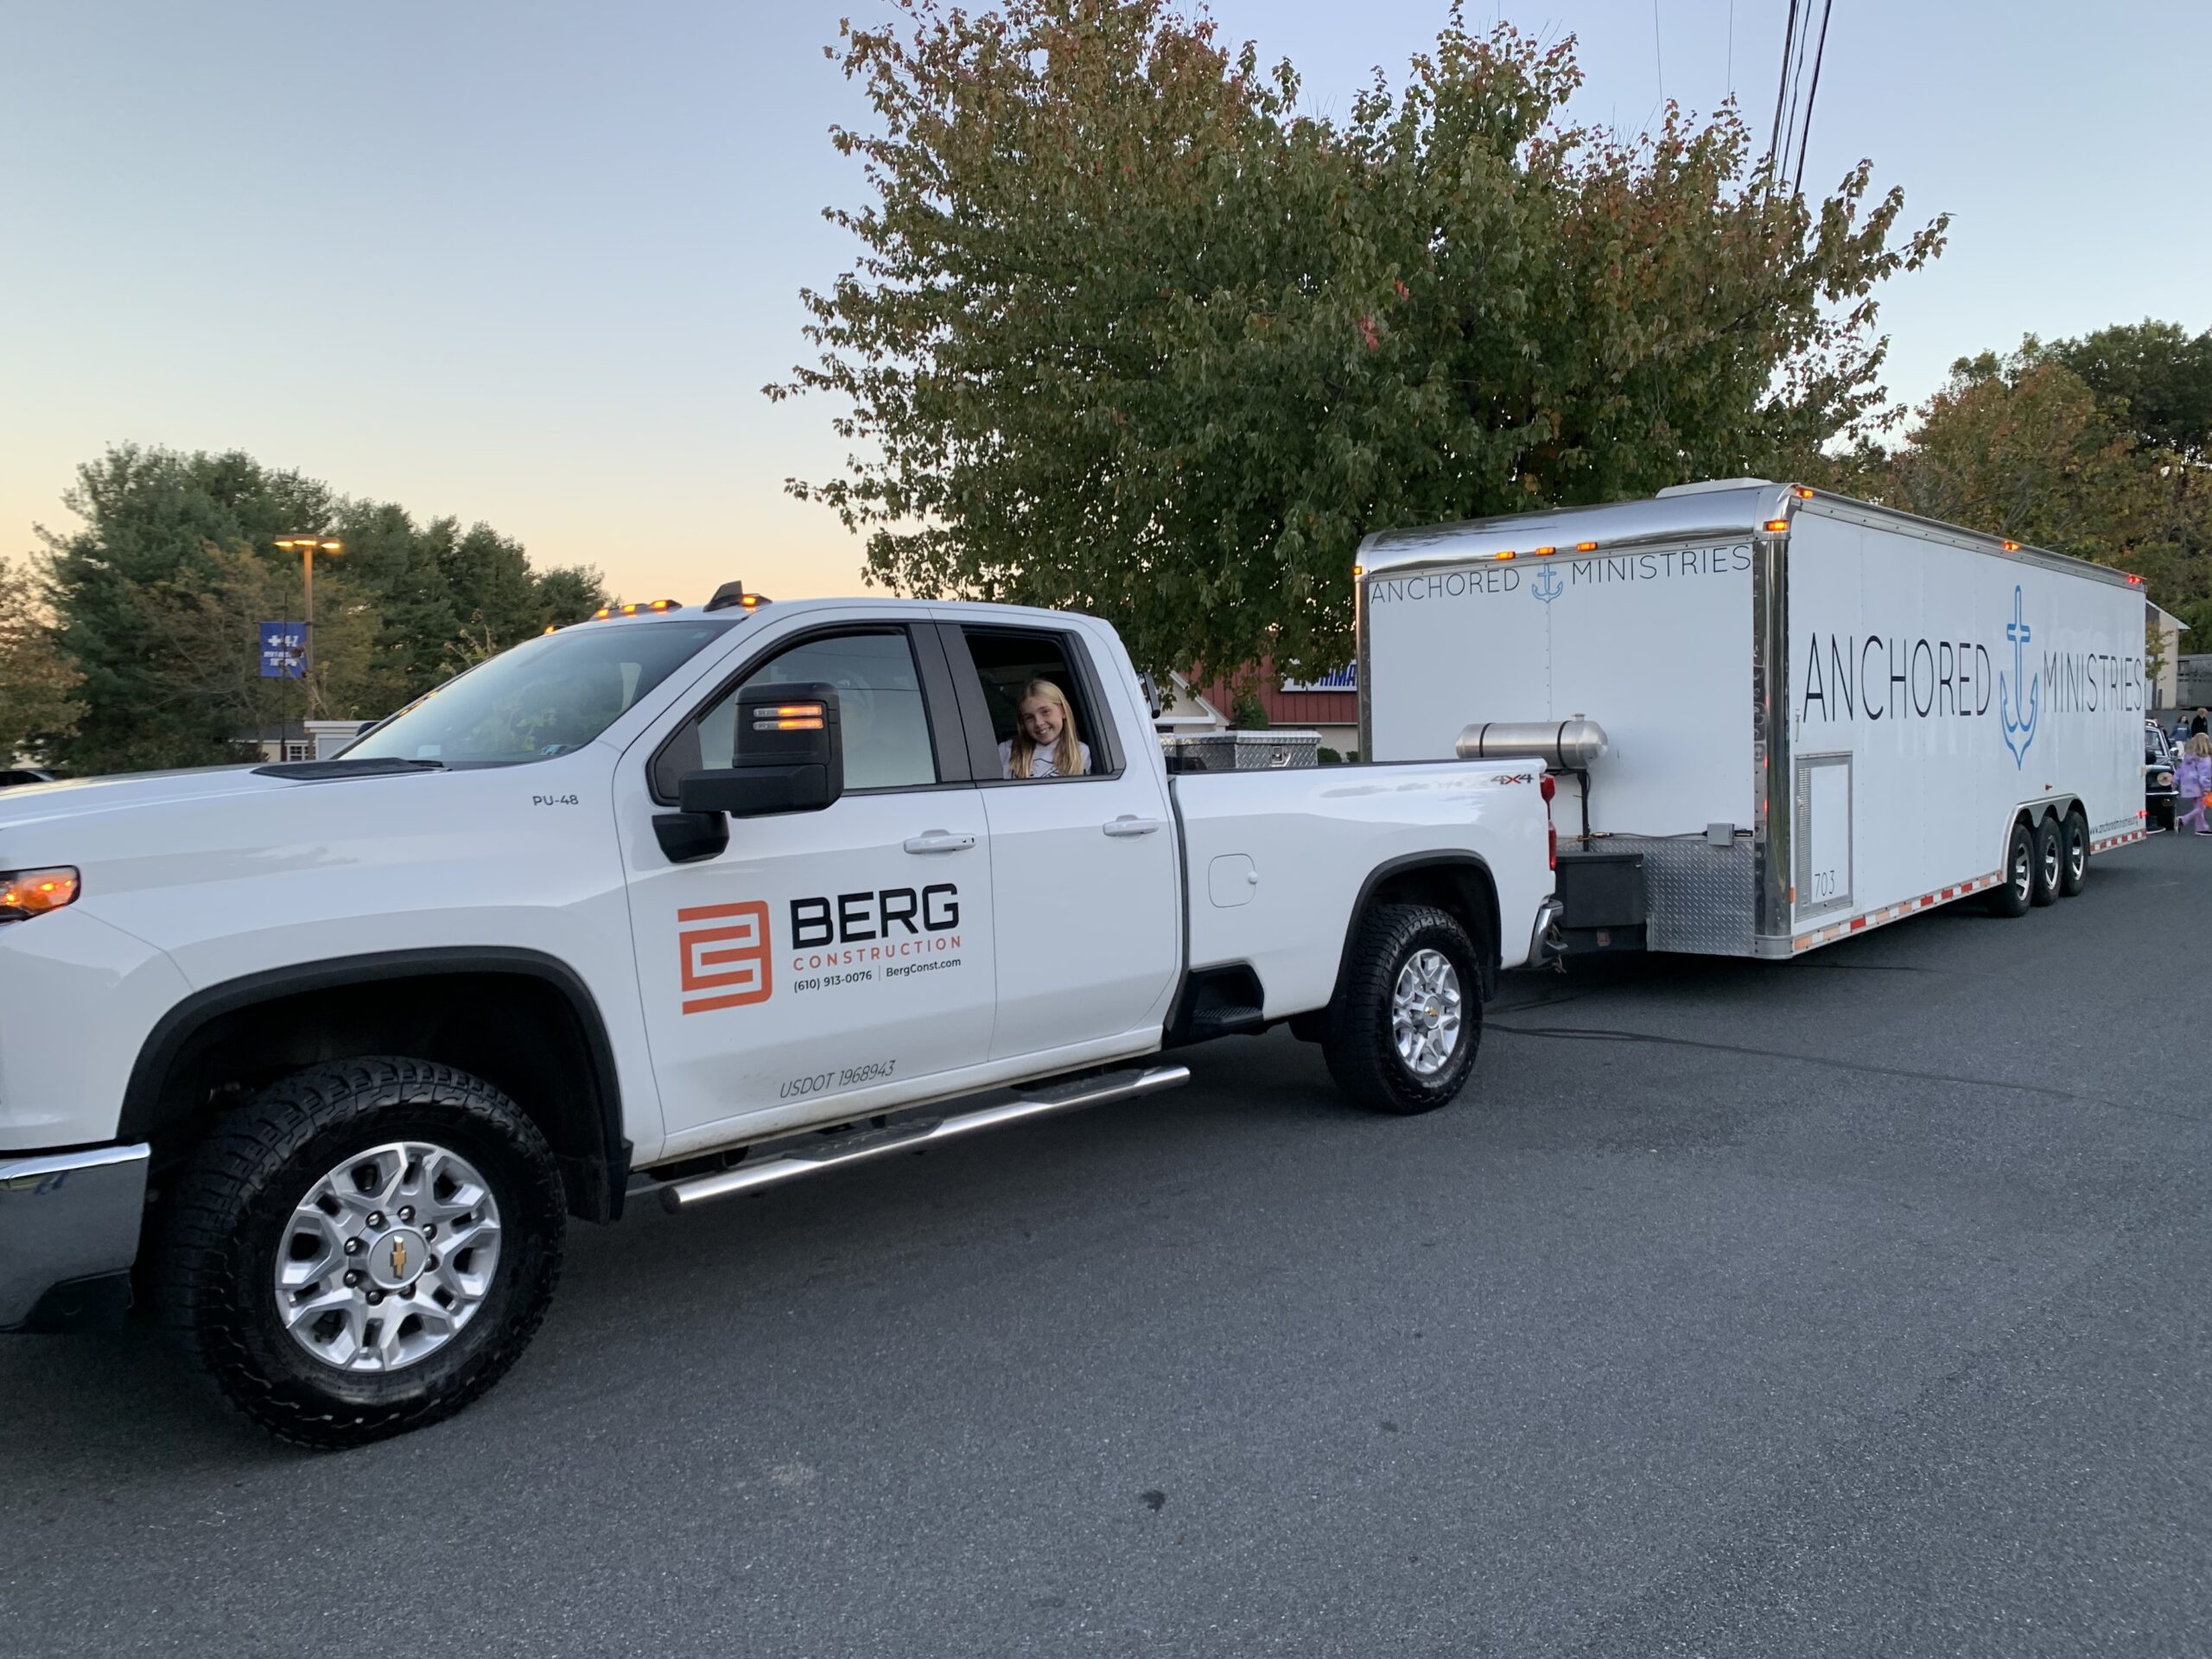
Tri-Axle Trailer: Hitch and weight distribution bars are inside the side door.
Trailer 701: Drop hitch receiver is in the first shed alongside the building.
Use the provided equipment to keep the trailer parallel to the ground, avoiding undue stress on the rear tires or risk of bottoming out.
Hitch Size: All Anchored trailers use 2” receivers and 2 5/16” balls. If your vehicle has a 2.5” or 3” receiver, ensure you bring a reducing sleeve.
Yellow Wheel Chocks: If using Trailer 703, ensure the yellow wheel chocks accompany it in addition to the mechanical wheel chock.
Tools Needed: Bring an impact or electric drill with a 3/4” socket for faster removal of the mechanical wheel chock.
Power Connection:
Each trailer is plugged in at the building to maintain the battery. Once connected to your hitch, remove the extension cord and stow it safely to avoid damage.
For Trailer 703, ensure the pigtail on the trailer’s power outlet is brought along.
Parking Lot Departure: Minimize jolts when pulling out of the parking lot to protect the trailer.
Drop-Off Instructions
Trailer Positioning: Ensure the trailer is level and in the correct location.
Install the mechanical and yellow (if applicable) wheel chocks.
Use a block under the tongue jack.
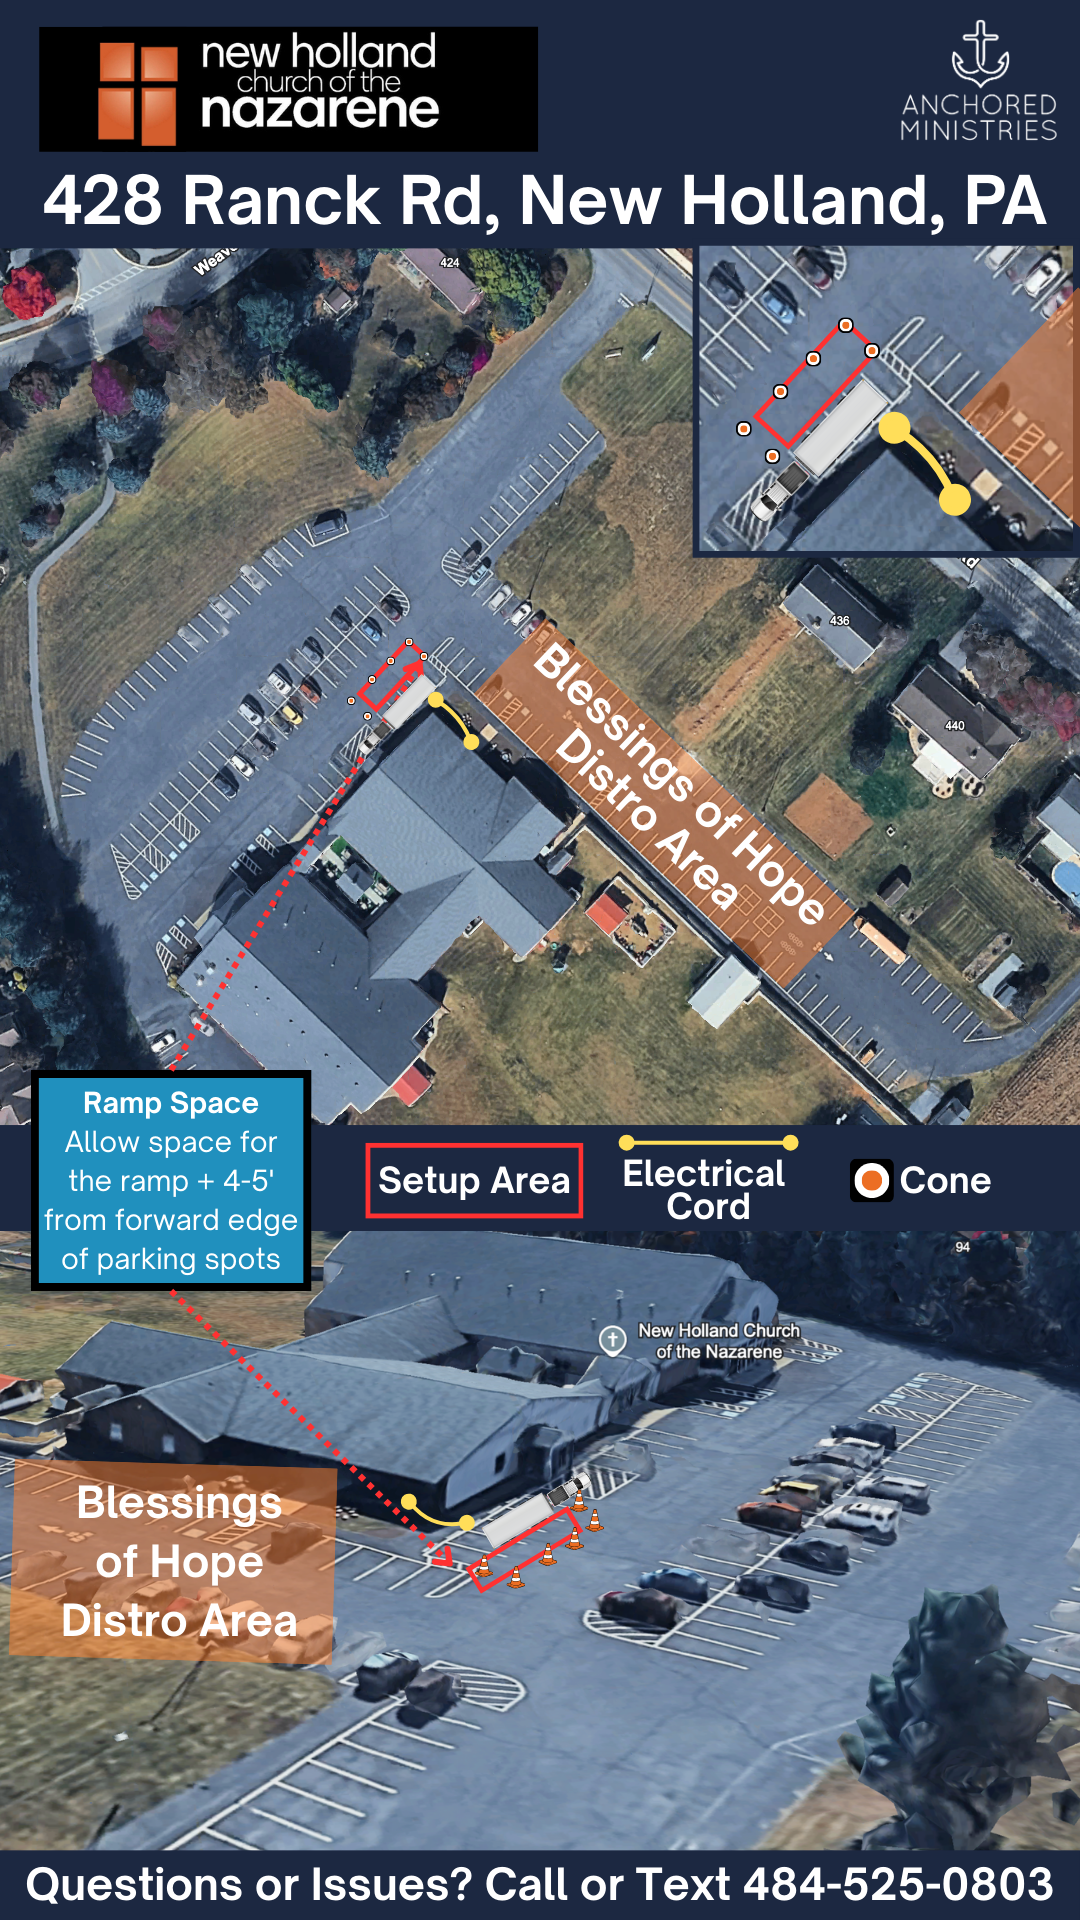
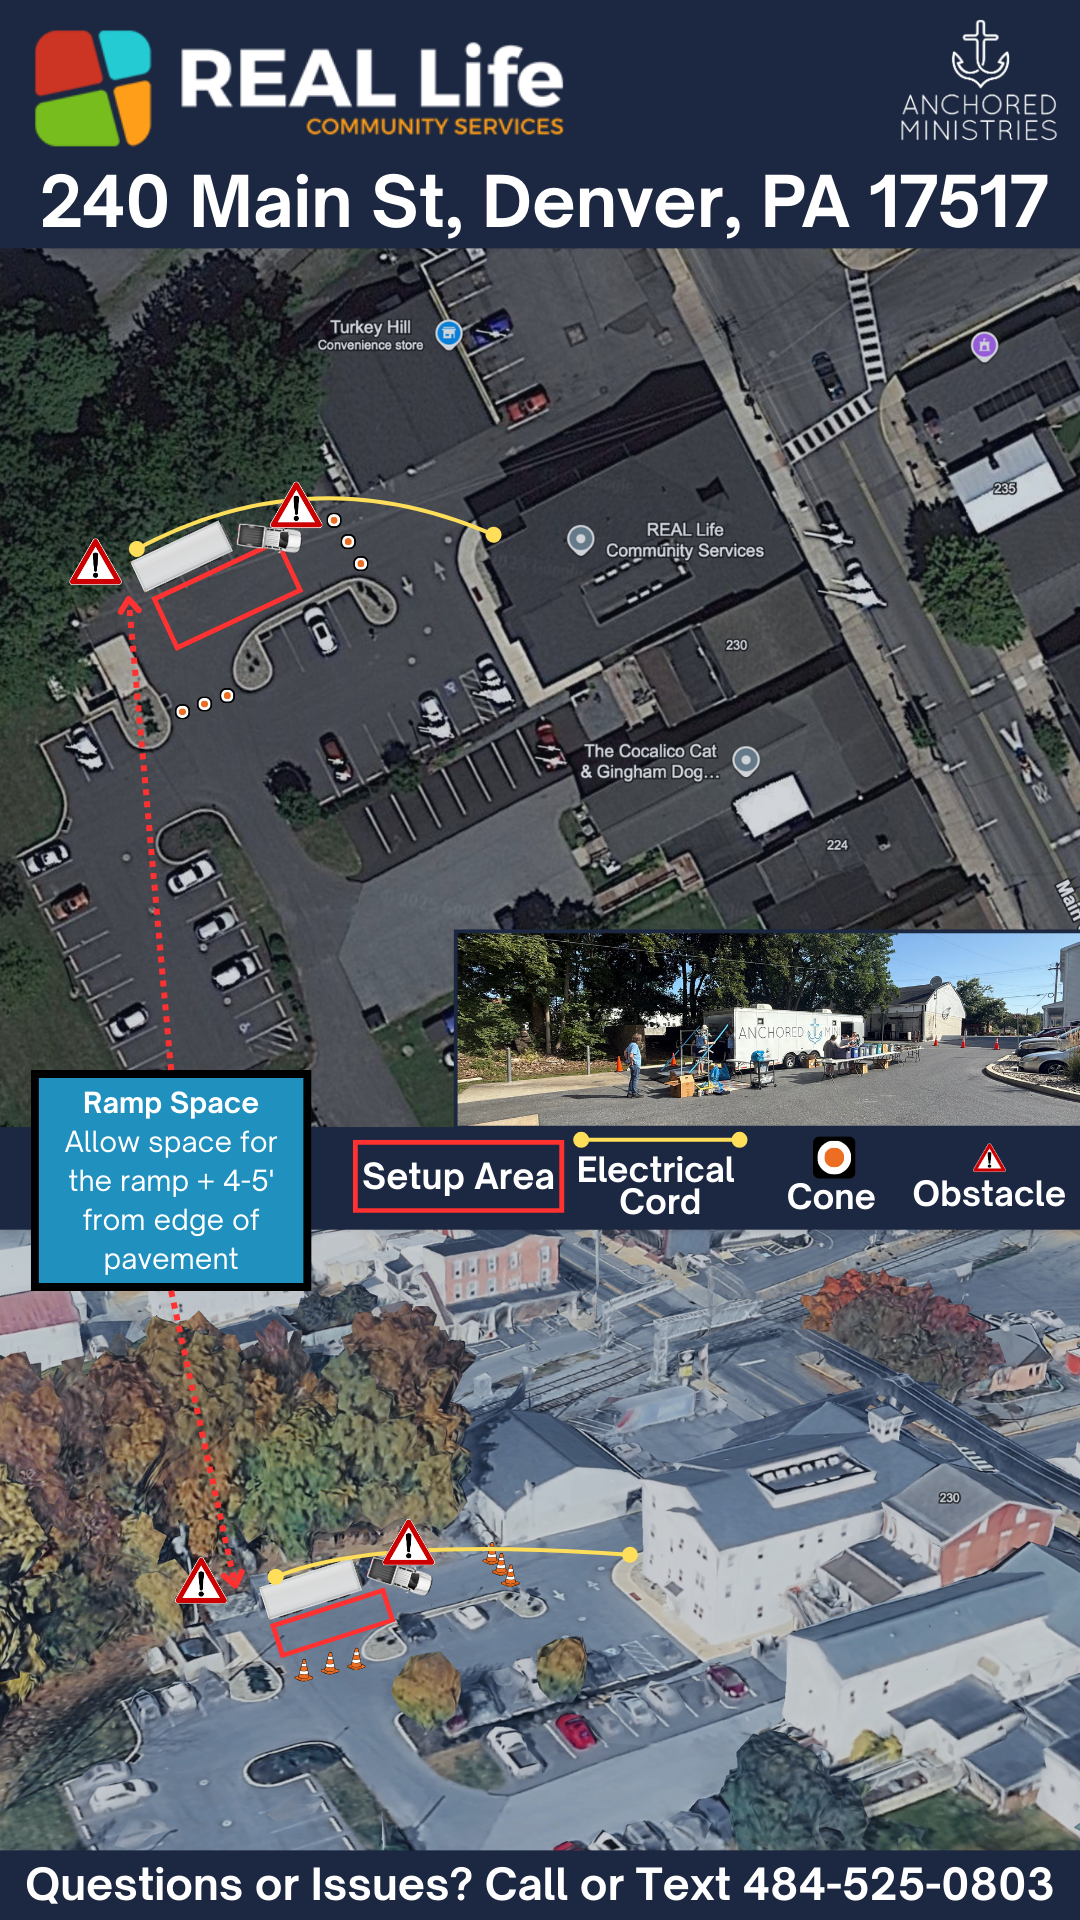
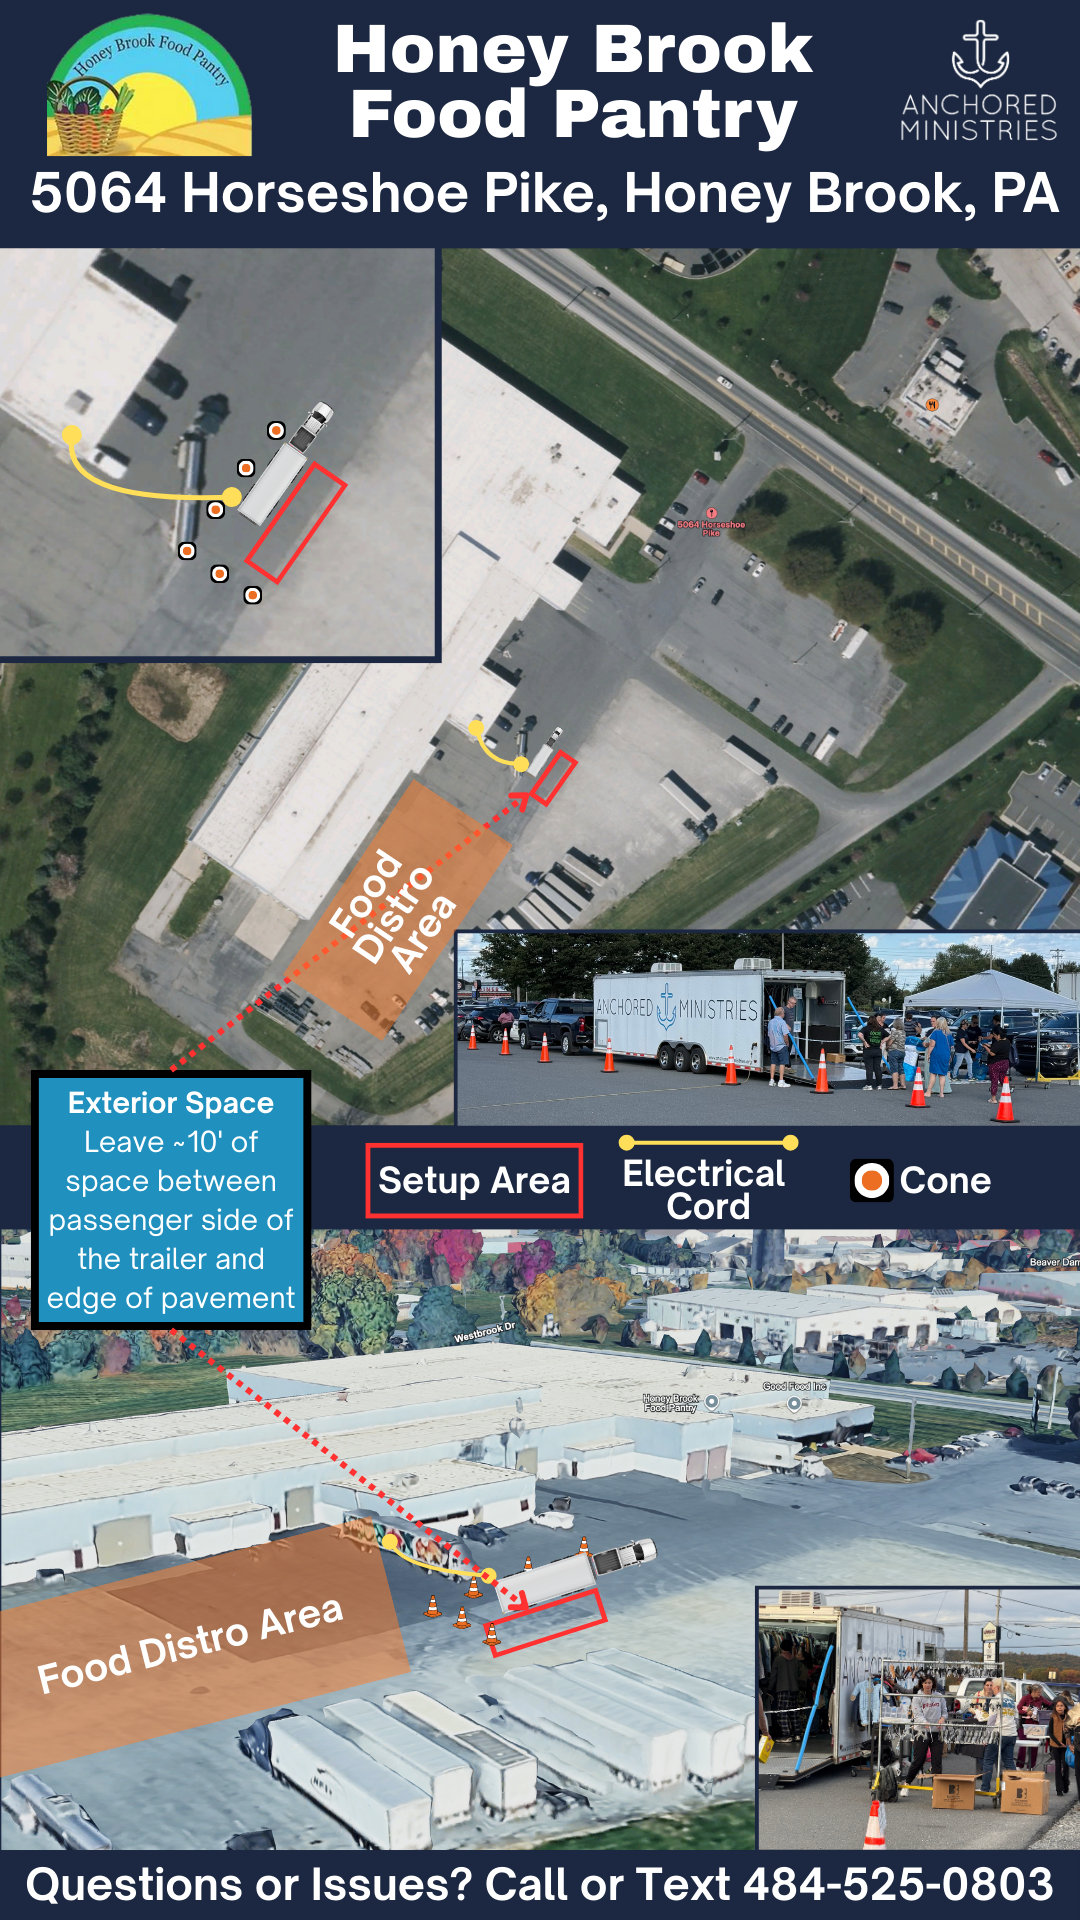
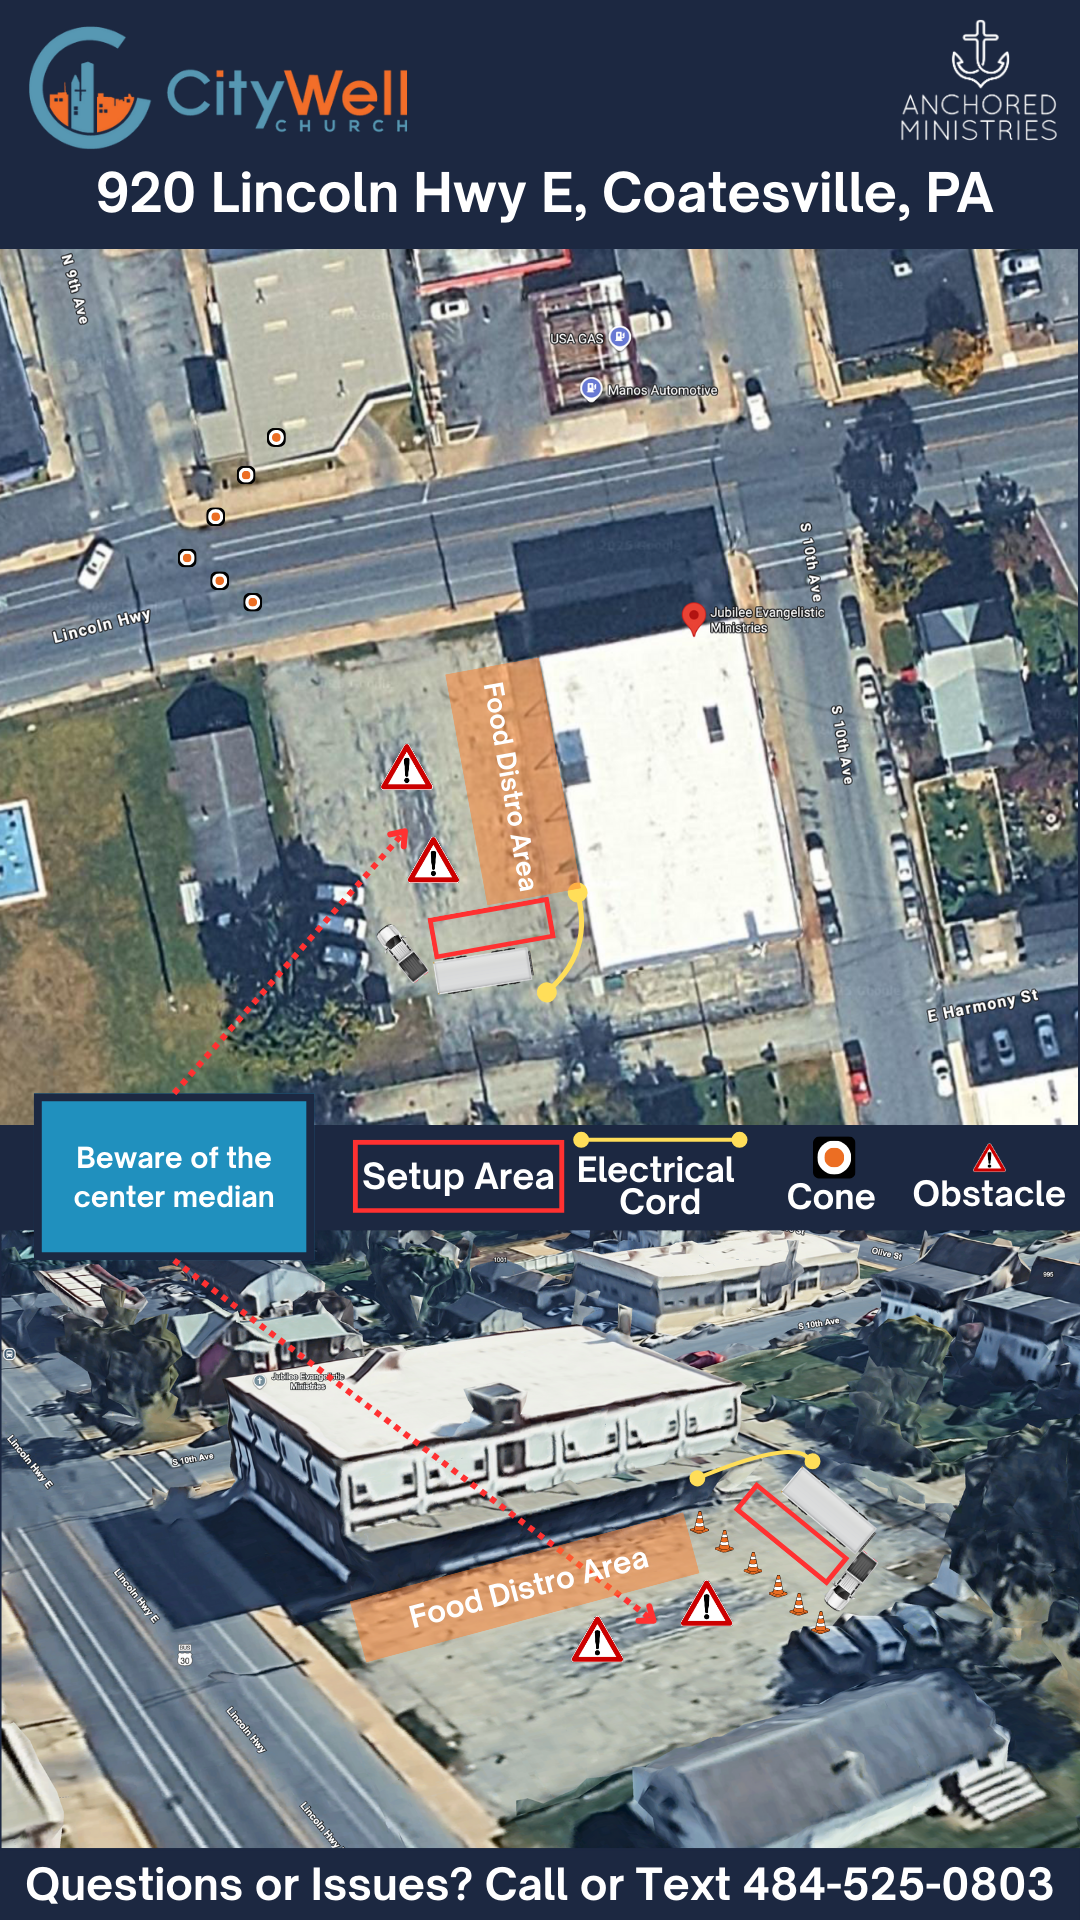
Allow ample space for the side tables and rear ramp (see event-specific details).
Securing the Trailer:
Reinstall the wheel chock and hitch locks.
Verify the trailer is plugged back in (if applicable).
Pick-Up Instructions
Follow all hookup procedures outlined in the General Notes section.
Ensure all locks and chocks are removed and accompany the trailer.
Return all equipment to its designated spot at the Anchored building upon return.
Return to Anchored Facility
Parking the Trailer:
Use a spotter when possible to avoid collisions.
Exit the vehicle as needed to confirm safe alignment.
Final Steps:
Unhook your equipment and return the hitch to its original location.
Reapply the wheel chock and hitch locks.
Plug the trailer back in to charge the battery.
Confirm all doors and locks are secured before leaving.
Return the keys to their designated location.
Event Setup Guidelines
Leave enough space for:
Collapsible tables on the side of the trailer with the door (10’ clearance).
Rear cargo door clearance (4-6’ behind the lowered door).
Specific Location Instructions
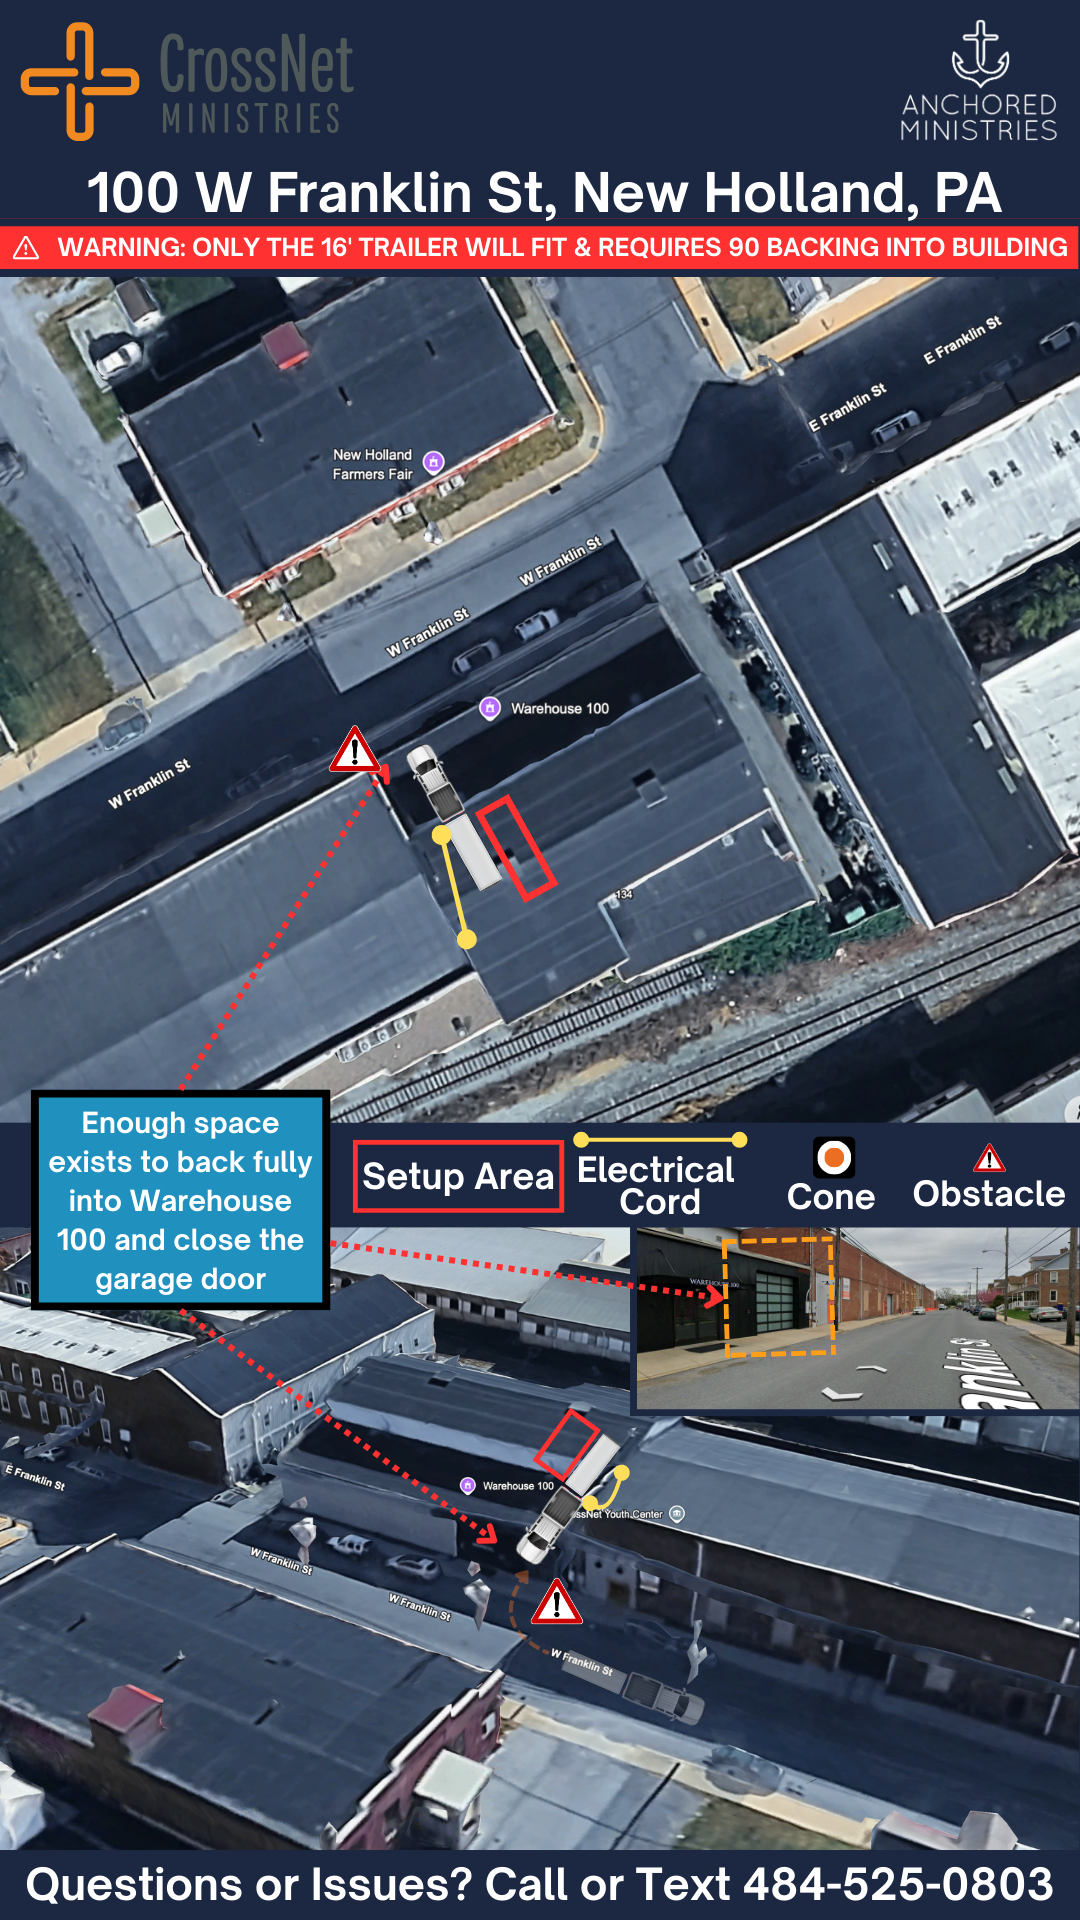
CrossNet Ministries
Back the trailer through the garage door at Warehouse 100.
Minimal clearance on either side requires careful backing from the street.
A CrossNet staff member must open the garage door and unlock interior doors.